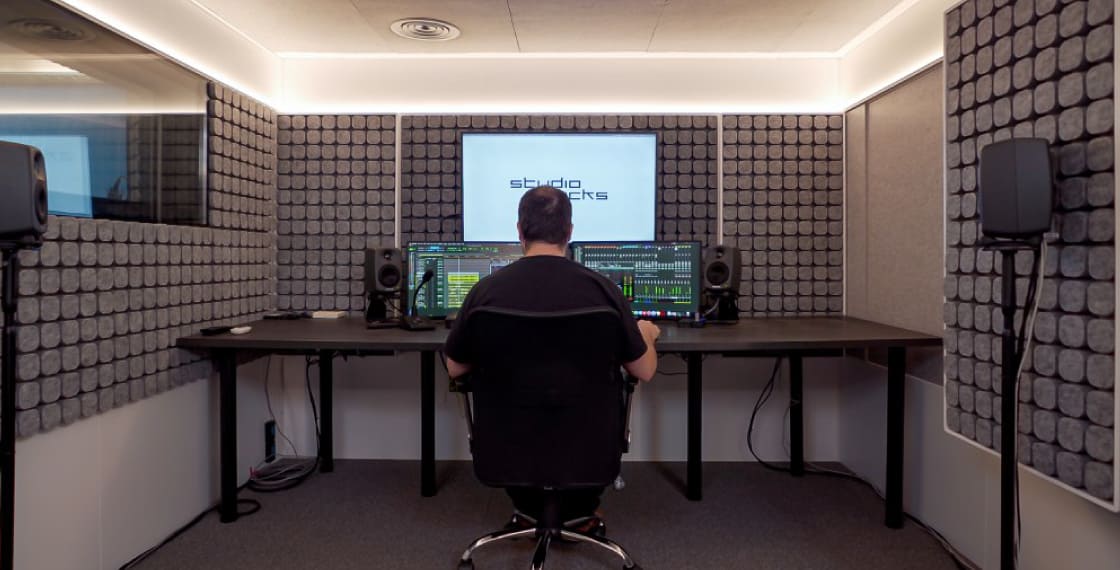
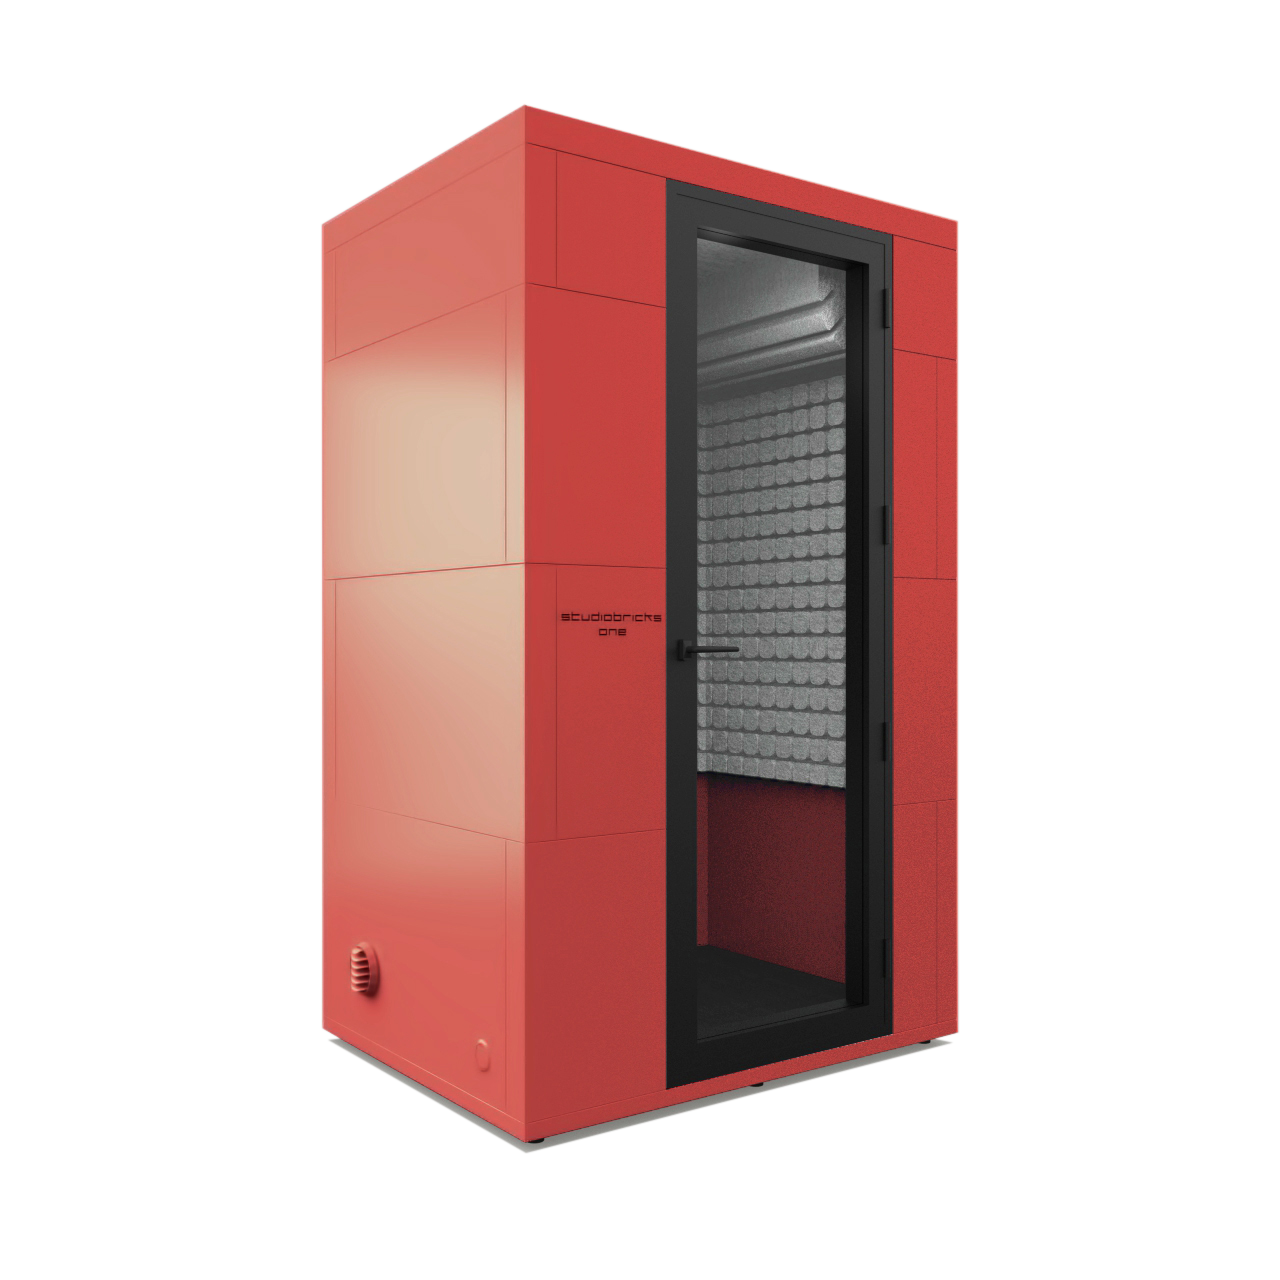
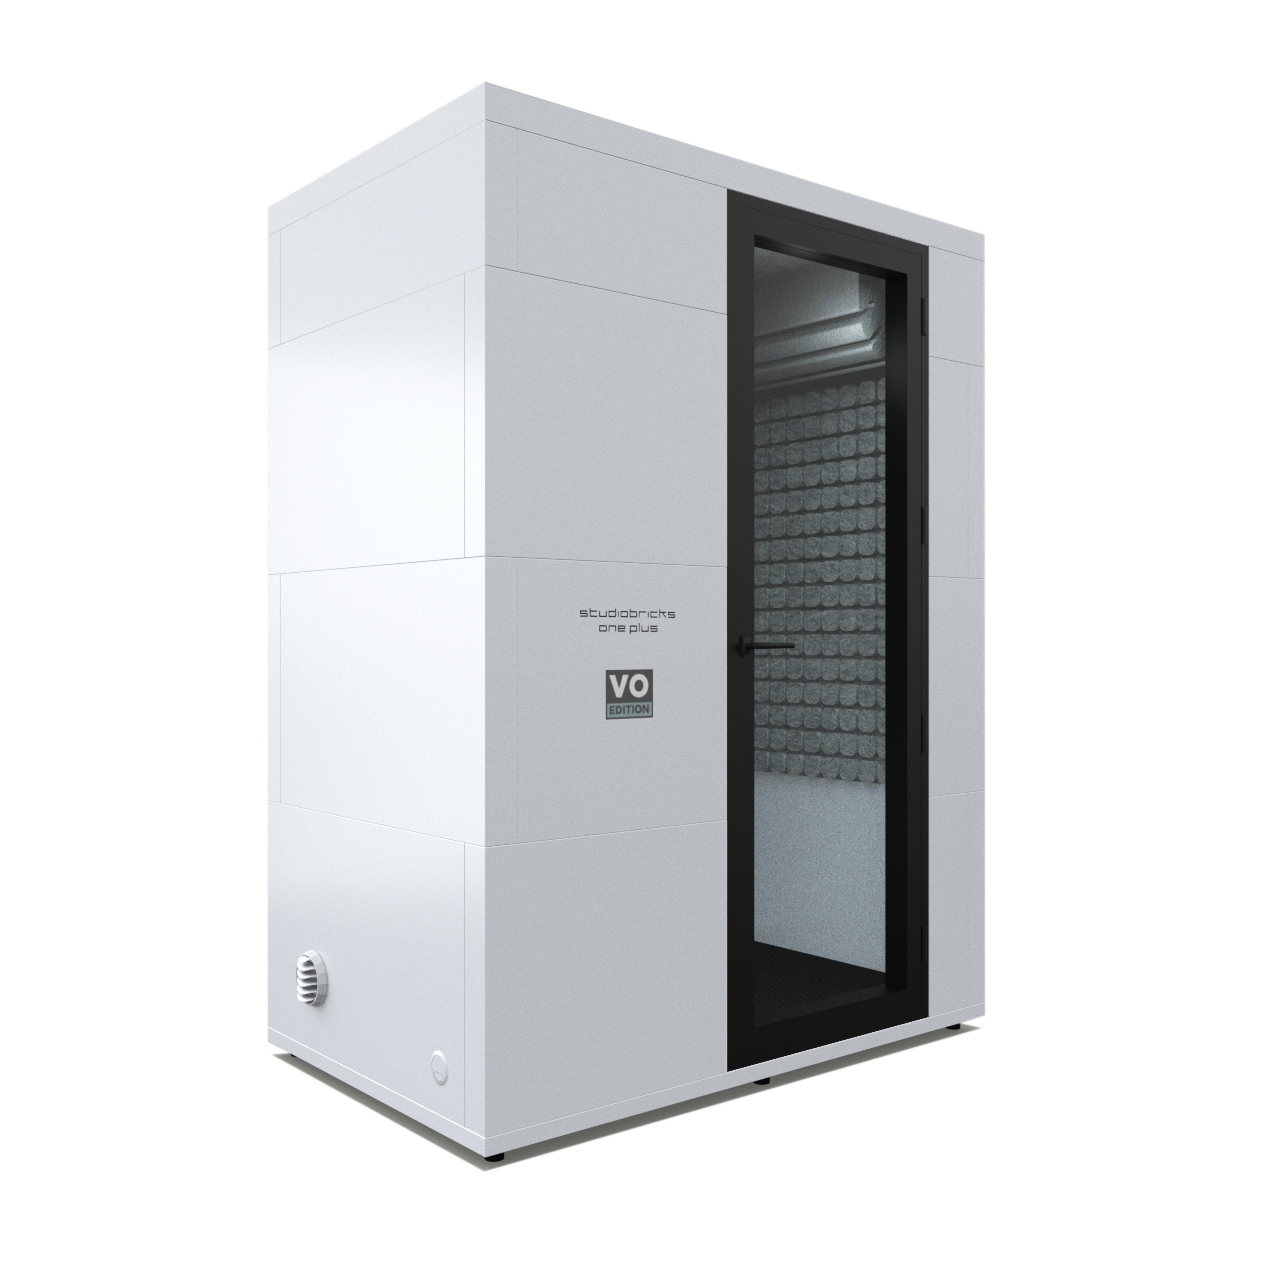
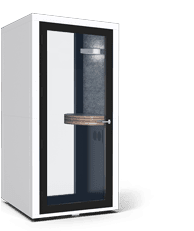
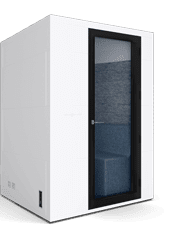
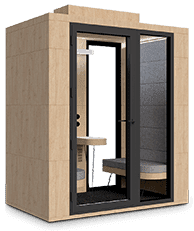
Studiobricks is a company dedicated to create high performance sound isolation products, such as recording booths, isolation booths for office spaces and acoustic treatment such as absorber and diffusers for your studio and workspace premises.
What happens if you do not own a Studiobricks and you have a bad recording with a lot of reverberation on it? Or maybe you overshot the levels and do not have enough time to re-record your production?
How could you treat a recording that might have been recorded at too low of a level and has a very small signal to noise ratio and thus includes a lot of background hum?
Let’s say your microphone was positioned bad and you have a lot of low frequency resonance in your voice and you are missing presence?
Well… there are many potential problems and many potential solutions. Let us talk about the most common reasons for a bad recording and some approaches to rescue an already recorded voice or instrument track, to be able to still send it to your client in time or to include it into your mix – keeping your delivery dates is crucial.
An acoustic treated enclose gives you the possibility to record in a neutral space, but if you do not have access to this, you might encounter a recording, where you have too much reverberation added to your recording, especially after treating the levels (loudness of your material) with a compressor or limiter.
When having too much reverberation, basically what you have to do is use a de-reverberation plugin of which there are several solutions on the market. This provides a solid solution towards preserving the natural sound of your voice or instrument, while reducing the reverberation – of course everything up until a certain amount. If you do not have access to these tools, you could cut the silences and breaths in between the content and fade the beginning and end of your sentences or instrument takes towards the silence. This way you will still have the reverberation on the content, but at least the beginning and end of each part is faded smooth as here the reverberation can be noticed the most.
Leveling is key and you should always keep some headroom to preserve your dynamic – meaning, when you set your amplification of your signal, it should not only clip (= overshooting the 0dB threshold), but depending on planned dynamic leave 6-12dB of headroom to guarantee thar you are not overshooting during the recording.
If this happens, and you get clipping on your recording, there is some great de-clipping software on the market, which can help you repair the flat cutoffs of your highest amplitude waveforms, resulting in a harsh sound. Once repaired your content can sound smooth and natural, again depending on the amount of clipping a lot can be restored, but not everything. Thus it’s always best to keep an eye on the levelling prior to recording.
If your levelling was too low on the other hand, this would result in a very low signal level and when you raise your content to a proper loudness, you will hear a lot of noise due to the low SNR = signal to noise ratio. This means you recorded so silent, that the systems own noise compared to your voice is still relatively high.
For this we recommend using a de-noise plugin that can take a noise profile. Select some of the “silent” parts of your recordings and let the plugin analyze your noise. Afterwards you can decide how much of the analyzed signal should be deducted from your recording and voilà – you should have a clean sound.
If you do not have access to a de-noising plugin, a very good editing of the silent parts is needed, where again we recommend fading in and out for each silent/breath part cut, to preserve a smooth and natural sound as much as possible. A similar approach can help for dynamic background noise, where de-noising software can help a lot. Otherwise cut and fade will be the best option for you.
Bad microphone placement, with missing isolation from the floor or living next to a train or bus station could result in rumble or low frequency noise being added onto your recording – here a low shelf EQ or a filter will help you to cut the low frequencies. Its important to cut the least possible to preserve the low frequency energy in your voice/instrument.
For speech specifically, whenever you would not use a pop-filter for example the explosive consonants could potentially add a low frequency booming sound. Here a de-plosive plugin can help only filter out these low frequency spikes and will preserve the most natural sound.
Should your microphone be aimed bad and lacking presence, you could try fixing it with boosting the 2-6 kHz frequency bands with an equalizer or using an exciter or enhancer plugin to give your vocals a higher frequency presence.
It’s great to know the potential issues you could encounter and the options to fix them. The best solution of course is not having to spend a lot of time on the editing side and prioritize on recording in a professional environment such as a Studiobricks booth. This will prevent you many potential issues and guarantee the highest quality recording with the best turnaround time, the smoothest and most silent business calls and most of all an uninterrupted, great time when taking your freedom to be loud.

